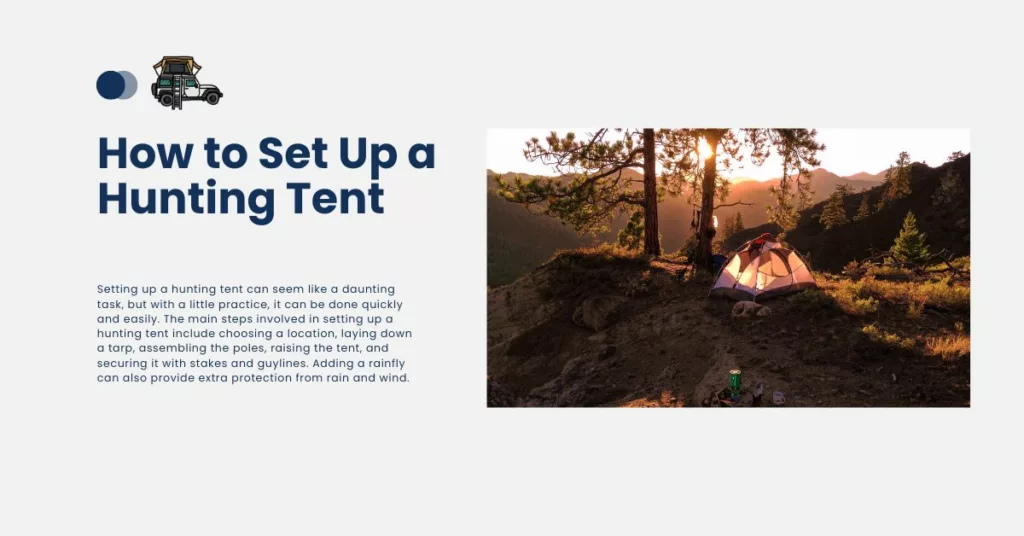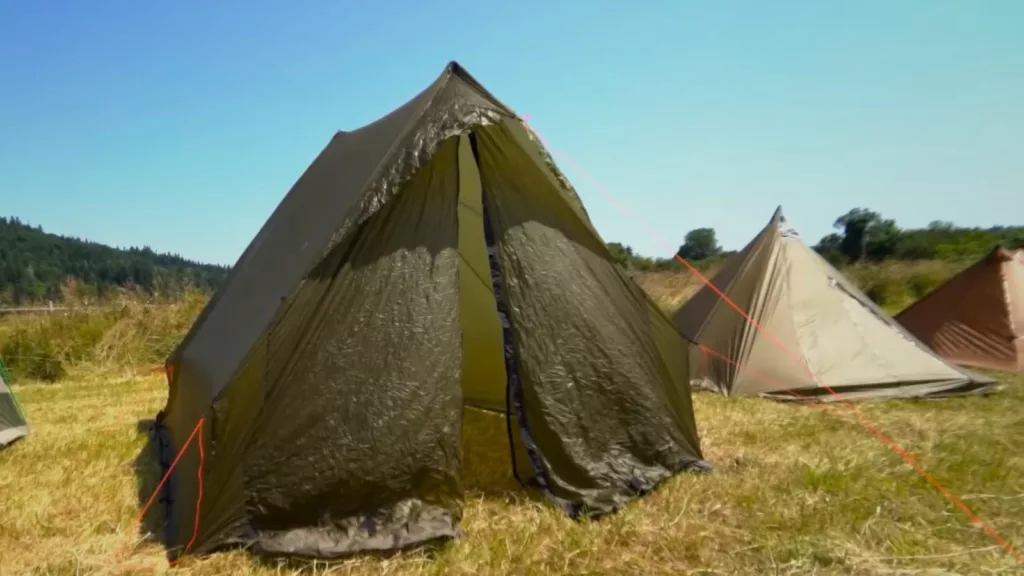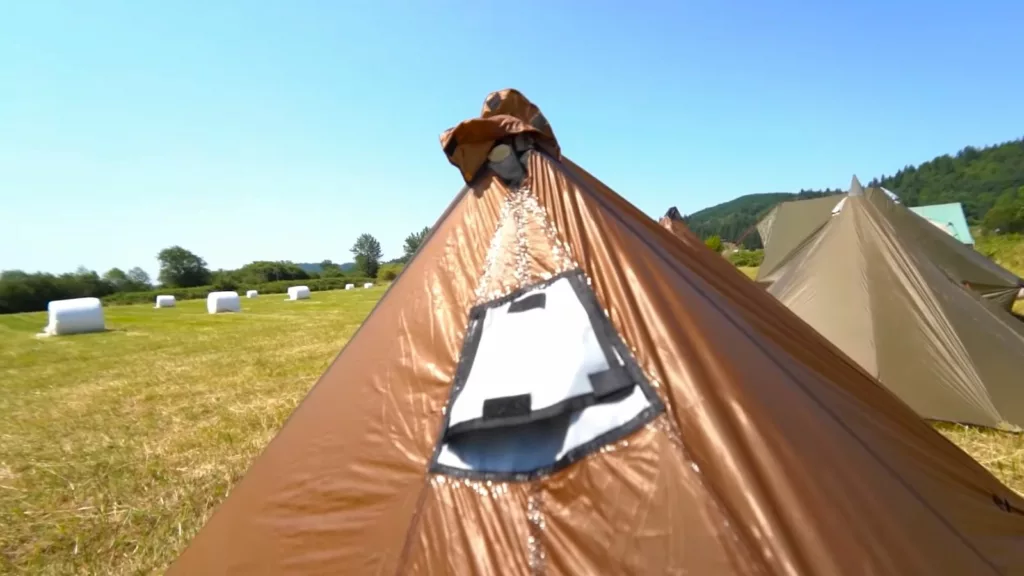
Setting up a hunting tent can seem like a daunting task, but with a little practice, it can be done quickly and easily. The main steps involved in setting up a hunting tent include choosing a location, laying down a tarp, assembling the poles, raising the tent, and securing it with stakes and guylines. Adding a rainfly can also provide extra protection from rain and wind.
As you learn how to set up a hunting tent, keep in mind that the process may vary depending on the type of tent you have and the terrain you’re camping in. With a little patience and attention to detail, you can set up your tent in no time and enjoy a comfortable and safe camping or hunting experience. As the famous quote goes,
“The best preparation for tomorrow is doing your best today.”
Key Takeaways
- Setting up a hunting tent involves several steps, including choosing a location, laying down a tarp, assembling the poles, raising the tent, and securing it with stakes and guylines.
- Adding a rainfly can provide extra protection from rain and wind.
- Practice makes perfect, and with a little patience and attention to detail, you can set up your hunting tent quickly and easily.
Table of Contents
Choosing a Location

When setting up a hunting tent, the location is crucial. You want to find a flat, level, and debris-free area that is large enough for your tent and footprint or tarp. Avoid low-lying areas that may collect water or condensation, as this can make for an uncomfortable and damp night’s sleep.
Consider the direction of the wind and the sun when selecting your location. You want to orient your tent so that the entrance faces away from the wind for optimal ventilation. This will also help keep the interior of your tent dry in case of rain. Additionally, if you plan on cooking inside your tent, you want to make sure the wind isn’t blowing smoke or fumes back inside.
Shade and natural windbreaks are also important factors to consider. When picking the location of your tent, look for natural outcroppings of rocks or high trees that provide shade. In addition to the shade, these natural elements will also provide a level of protection from wind.
It’s important to respect the natural environment and follow the “leave-no-trace” principles. This means avoiding disturbing vegetation or wildlife, and leaving your campsite as you found it.
Here are some examples of good and bad locations for setting up a hunting tent:
| Good Location | Bad Location |
|---|---|
| A grassy clearing near a stream, with some trees for shade and windbreak | A rocky slope near a cliff, with no vegetation or shelter |
| A flat area near a natural windbreak, such as a stand of trees or a large boulder | A low-lying area that may collect water or condensation |
| A location with plenty of game to hunt | A location with heavy foot traffic or noisy neighbors |
By following these guidelines, you can ensure a comfortable and successful hunting trip.
Laying Down a Tarp

Before pitching your hunting tent, it is important to protect the bottom of your tent from moisture and abrasion. This is where a tarp or footprint comes in handy.
A tarp or footprint is a protective layer that goes underneath your tent. It is usually made of durable materials like nylon or polyester and is designed to withstand wear and tear.
To lay down a tarp or footprint under your tent, follow these simple steps:
- Unfold the tarp or footprint and place it on the ground where you want to pitch your tent.
- Make sure the tarp or footprint is slightly smaller than the tent floor so that it does not stick out beyond the edges of the tent.
- Fold or tuck any excess material under the tent to prevent water from pooling underneath.
- Secure the corners of the tarp or footprint with stakes or rocks if necessary.
When choosing a tarp or footprint, consider the size of your tent and the terrain you will be camping on. A tarp that is too small will not provide adequate protection, while a tarp that is too large will be cumbersome to set up and may collect water.
It is also important to note that laying down a tarp or footprint will not only protect your tent from moisture and abrasion but will also provide insulation and help keep you warm.
If you are camping in an area with pine needles, make sure to clear the area before laying down your tarp or footprint. Pine needles can puncture the material and reduce its effectiveness.
By taking the time to lay down a tarp or footprint, you can ensure that your hunting tent stays dry and protected, allowing you to focus on the hunt instead of worrying about your gear.
Assembling the Poles

To assemble your tent poles, start by identifying the different parts, such as sections, joints, tips, and hubs. Most hunting tents come with aluminum poles that are lightweight and durable, making them ideal for outdoor use.
Connect the sections of each pole together until they snap into place. Follow the instructions provided by your tent manufacturer, which should include diagrams or illustrations to help you assemble the poles correctly.
Once you have assembled all the poles, lay them out across the flat tent according to the instructions or diagrams provided by your tent manufacturer. Make sure the poles are evenly spaced and properly aligned.
Next, insert the poles into the pole sleeves or grommets on the tent body. Make sure each pole is securely in place and properly tensioned. Adjust the tension as needed to ensure the tent is stable and secure.
Finally, attach the rainfly to the tent body, making sure it is properly secured and tensioned. The rainfly will help protect your tent from rain and wind, keeping you dry and comfortable during your hunting trip.
In summary, assembling your tent poles is a crucial step in setting up your hunting tent. Follow the instructions provided by your tent manufacturer, and take your time to ensure each pole is correctly assembled and securely in place. With a little practice, you’ll be able to assemble your tent poles quickly and easily, giving you more time to enjoy the great outdoors.
Raising the Tent
Now that you have selected the perfect spot and prepared the tent components, it’s time to raise the tent. Here are some simple steps to follow:
- Start by inserting one end of each pole into an eyelet at each corner of the tent floor.
- Lift up the center of each pole and slide it through or attach it to the flaps, clips, or sleeves on the top of the tent body.
- Insert the other end of each pole into another eyelet at each corner of the opposite side of the tent floor.
- Adjust the position and tension of the poles until the tent is upright and stable.
Remember to follow the tent instructions carefully and ensure that the poles are inserted into the corresponding flaps, eyelets, clips, or sleeves on the tent body.
If you have any trouble, don’t hesitate to ask for help. Raising a tent can be a two-person job, and it’s always better to be safe than sorry when it comes to shelter in the wilderness.
With these simple steps, you’ll have your hunting tent up and ready to go in no time. Happy camping!
Securing the Tent
Here’s how to secure your tent with stakes and guylines:
- Hammer or push a stake into the ground at an angle through each loop or grommet at the base of the tent body. Make sure the stakes are driven firmly into the ground, at an angle away from the tent and towards the direction of the wind.
- Attach one end of each guyline to a loop or ring on the top or side of the tent body. Make sure you attach them to the correct loops or rings, as some tents have multiple attachment points.
- Extend each guyline away from the tent at an angle and tie it to another stake in the ground or to a nearby tree or rock. Make sure the guyline is taut and not slack. If you don’t have enough stakes, you can also tie the guyline to a nearby tree or rock.
- Adjust the length and tension of each guyline until the tent is taut and balanced. Make sure each guyline is tight enough to keep the tent stable but not so tight that it distorts the shape of the tent.
Remember to use a mallet to hammer in the stakes if the ground is hard. Also, make sure to use guylines even if the weather seems calm. You don’t want to be caught off guard by sudden gusts of wind or storms.
By following these steps, you can ensure that your hunting tent is securely anchored to the ground and ready to withstand any weather conditions.
Adding a Rainfly
When it comes to camping, setting up a tent is just the first step. You also need to make sure that you have the right gear to protect yourself from the elements. One important piece of gear to consider is a rainfly.
A rainfly is a separate piece of material that you can attach to the top of your tent to provide extra protection from rain, snow, wind, and sun. It is designed to cover all sides and openings of your tent, preventing water from seeping through the fabric. Additionally, it can help to regulate the temperature inside your tent by providing better ventilation and airflow.
Here are the steps to add a rainfly over your tent:
- Unfold the rainfly and drape it over your tent body, making sure that it covers all sides and openings of your tent.
- Align the seams and vents of the rainfly with those of your tent body for optimal ventilation and airflow.
- Secure each corner of the rainfly with hooks, buckles, snaps, or Velcro to each corner of your tent body or pole.
- Stake out any additional loops or grommets on the edges of your rainfly to create more space and stability.
It is important to note that the process of adding a rainfly may vary depending on your specific tent model. Be sure to consult the manufacturer’s instructions for your tent to ensure that you are attaching the rainfly correctly.
In addition to providing extra protection from the elements, a rainfly can also help to extend the life of your tent by keeping it dry and preventing mold and mildew from forming. So, if you’re planning a camping trip, be sure to pack a rainfly to keep yourself and your gear dry and comfortable.
Conclusion
Setting up a hunting tent can seem like a daunting task, but with the right preparation and equipment, it can be a rewarding experience. By following the main steps involved in setting up a hunting tent, you can create a comfortable and functional shelter in the wilderness.
One of the main benefits of using a hunting tent is the comfort and convenience it provides. With a canvas wall tent, you can stay warm and dry even in harsh weather conditions. Additionally, a hunting tent allows you to store your gear and belongings safely and keep them organized throughout your trip.
To make your hunting tent even more cozy and functional, consider adding a mat or rug inside for extra insulation and comfort. You can also hang a lantern or flashlight from the ceiling or a pole for illumination and organize your gear in storage pockets or bins inside the tent. Regular ventilation of your tent is also important to prevent condensation and dampness.
When it comes to choosing the right hunting tent, there are many options available. Reviews and recommendations can be helpful in finding the best overall or best budget tent for your needs. Additionally, be sure to consider the size and weight of the tent, as well as any additional features like a rainfly or vestibule.
In conclusion, setting up a hunting tent can be a fun and rewarding experience. By following the main steps and incorporating some tips and tricks, you can create a comfortable and functional shelter in the wilderness. So next time you head out on a camping or hunting trip, consider trying out a canvas wall tent and enjoying all the benefits it has to offer.
Frequently Asked Questions
What are some tips for setting up a hunting tent?
When setting up a hunting tent, it’s important to choose a location that is secluded and well-hidden. You should also make sure to set up the tent at least 200 feet from any lakes or streams. Keep your campsite small and avoid creating new campsites to prevent damage to the environment.
What should I look for in a hunting tent?
When choosing a hunting tent, you should consider the size, weight, and durability of the tent. Look for a tent that is lightweight and easy to set up, as you may need to move it frequently. You should also look for a tent that is made from durable materials and is designed to withstand harsh weather conditions.
Can you recommend any hunting tents that are easy to set up?
Some hunting tents that are easy to set up include the Coleman Sundome Tent, the ALPS Mountaineering Lynx 1-Person Tent, and the HILLMAN Outdoor Tent. These tents are lightweight, durable, and designed to be set up quickly and easily.
What are some ways to camouflage a hunting tent?
To camouflage a hunting tent, you can use natural materials such as branches, leaves, and grass to cover the tent. You can also use a camo tarp or netting to cover the tent and blend in with the surrounding environment.
How do I brush in a hunting tent?
To brush in a hunting tent, you should use natural materials such as branches, leaves, and grass to cover the tent and blend in with the surrounding environment. Make sure to cover the entire tent, including the roof and sides, to avoid detection by game animals.
Will deer notice a hunting tent?
Deer have excellent eyesight and can detect even the slightest movement or change in their environment. However, if you set up your hunting tent in a secluded location and camouflage it properly, you can minimize the chances of being detected by deer or other game animals.
