
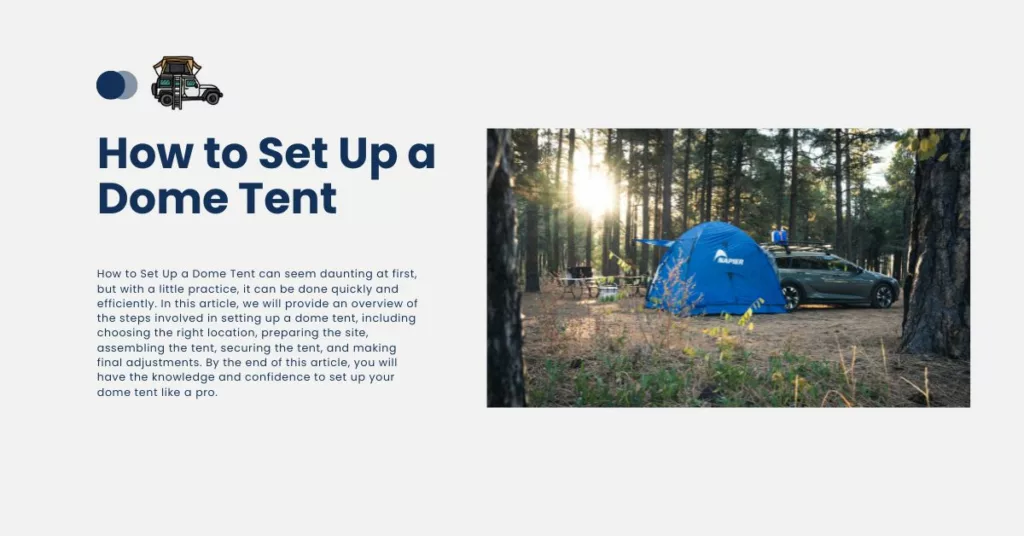
How to Set Up a Dome Tent can seem daunting at first, but with a little practice, it can be done quickly and efficiently. In this article, we will provide an overview of the steps involved in setting up a dome tent, including choosing the right location, preparing the site, assembling the tent, securing the tent, and making final adjustments. By the end of this article, you will have the knowledge and confidence to set up your dome tent like a pro.
Dome tents are a popular choice for camping due to their unique shape and ease of setup. These tents are known for their spacious interior, making them perfect for families or groups of friends. In addition, the dome shape provides excellent wind resistance, making it ideal for camping in windy conditions.
Key Takeaways:
- Choosing the right location is crucial for a successful camping trip.
- Preparing the site and assembling the tent are the first steps in setting up a dome tent.
- Securing the tent and making final adjustments are important for a safe and comfortable camping experience.
Table of Contents
Choosing The Right Location
When it comes to setting up a dome tent, choosing the right location is key to a comfortable and safe camping experience. We want to emphasize the importance of finding a legal and available campsite for pitching a dome tent. Here are some tips to help you find the perfect spot:
Spot Selection
Look for level ground that is free of large rocks, branches, and other obstacles that could make sleeping uncomfortable. If there are smaller rocks, twigs, or pine cones on the ground, move them out of the area to make a smoother surface for sleeping.
Privacy is also important, so try to find a spot that is away from other campers and has natural barriers, such as trees or bushes. If you are camping in a park or designated campsite, be sure to follow the rules and regulations regarding where you can set up your tent.
Weather Considerations
Checking the weather forecast before you head out on your outdoor adventure is crucial. Look for potential rain, wind, or cold temperatures and prepare accordingly. If rain is in the forecast, try to find a spot that is upwind from any potential water sources, such as a river or lake.
If you are camping in warmer weather, look for shade to keep your tent cooler during the day. However, if you are camping in colder weather, look for a spot that is open and exposed to the sun to help warm up your tent during the day.
Higher ground is also a good choice, as it can help prevent flooding in case of rain. Be sure to avoid low-lying areas or areas that are prone to flooding.
Preparing The Site
Before setting up your dome tent, it’s important to prepare the site properly to ensure a comfortable and safe camping experience. Here are some tips on how to prepare the site:
Clearing The Area
The first step in preparing the site is to clear the area of any rocks, debris, or sharp objects that could damage the tent or cause discomfort. We recommend using a broom or brush to sweep the area and remove any small rocks or sticks. For larger debris, you can use a shovel or rake to clear the area.
Laying The Trap
Once the area is cleared, it’s time to lay down a ground tarp or footprint to protect the tent floor and prevent water from pooling. We suggest using a slightly larger tarp than the tent footprint to ensure complete coverage. Simply lay the tarp down on the ground and place the tent on top of it.
It’s important to orient the tent door in the desired direction and make sure all zippers are closed. This will help keep out any unwanted critters and prevent rain from entering the tent.
By following these simple steps, you can ensure that your dome tent is set up on a safe and comfortable site.
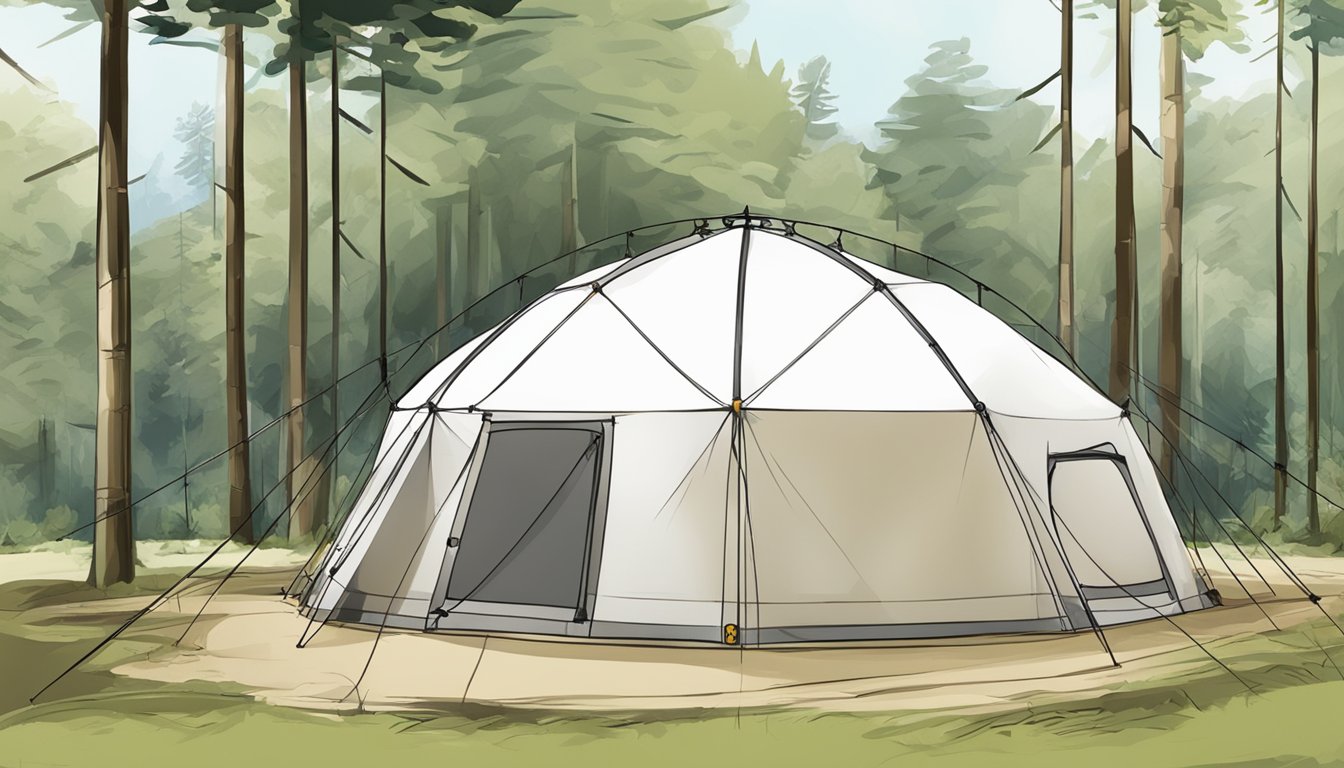
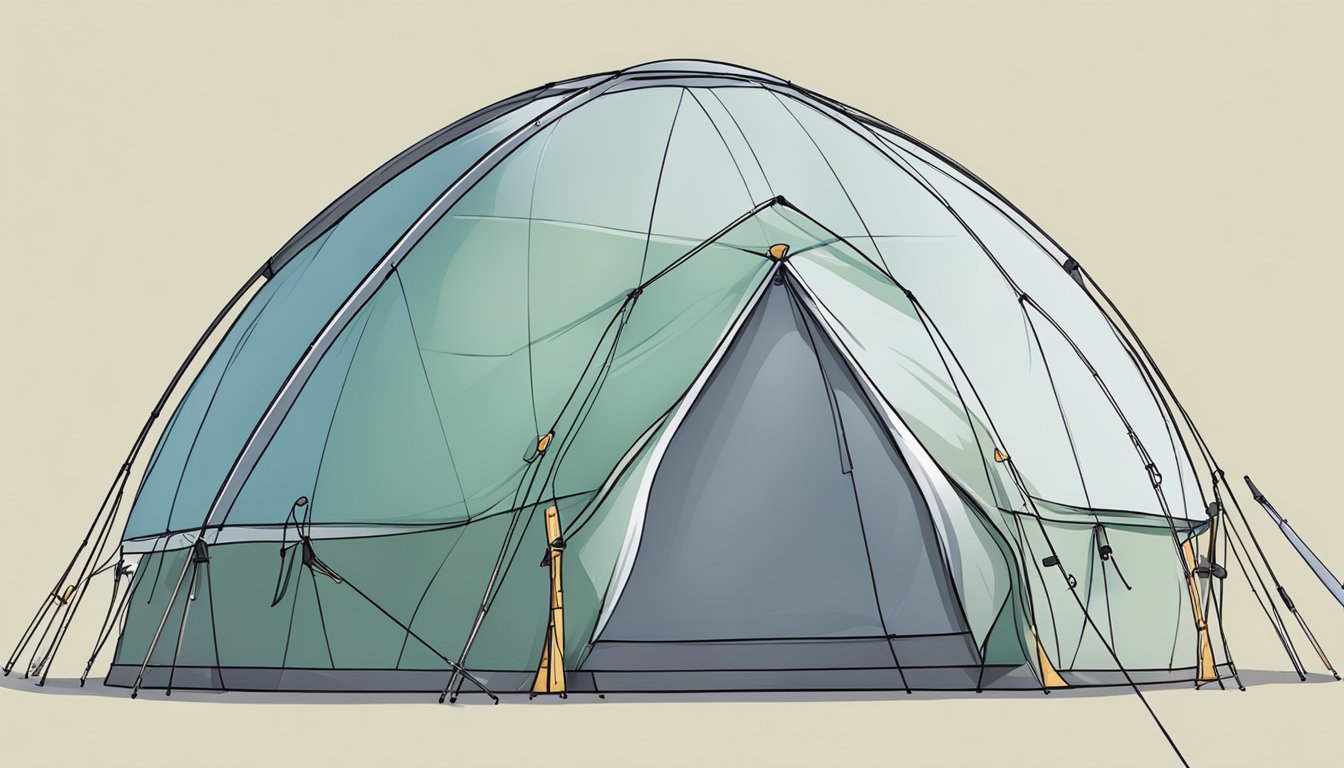
Assembling The Tent
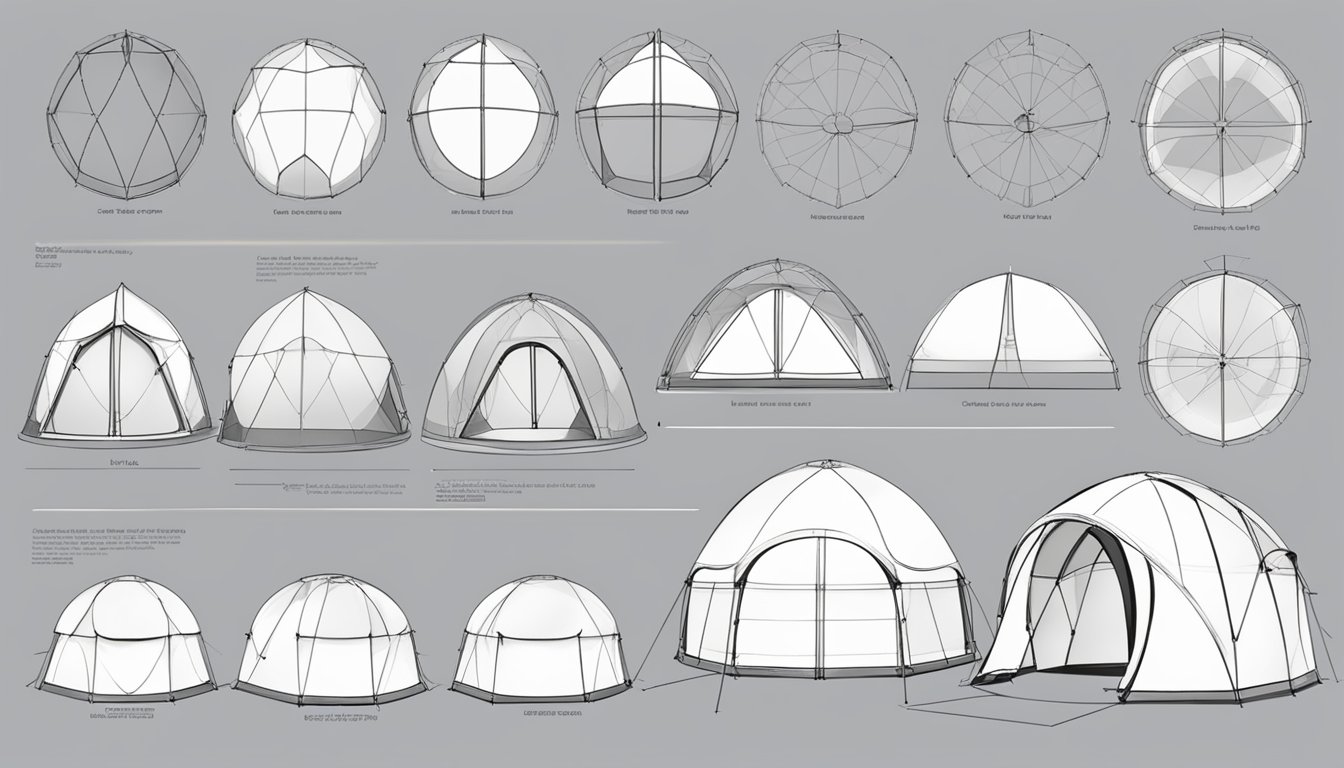
Setting up a dome tent can be an easy and straightforward process if you follow the right steps. In this section, we will guide you through the process of assembling your dome tent. We will cover connecting the poles and raising the tent.
Connecting The Poles
The first step in setting up a dome tent is to assemble the poles. Most newer dome tents come with pre-connected poles that can be easily shaken into place. If your tent poles are not connected, connect the sections by following the manufacturer’s instructions.
Next, push the poles through the fabric sleeves or clips on the tent body. If your tent has clips, attach them to the poles before inserting them into the sleeves. Make sure the poles are fully inserted into the sleeves or clips.
Raising The Tent
Once the poles are in place, it’s time to raise the tent. Start by inserting the poles into the corner pockets or grommets and form an X shape in the center of the tent. This will help to create a stable structure.
Next, push the poles up and outwards to raise the tent. If you have a larger tent, you may need to secure the poles with guy lines to prevent them from bending or collapsing.
Finally, attach the rainfly to the tent by following the manufacturer’s instructions. The rainfly will help to keep the tent dry in case of rain or dew.
That’s it! Your tent is now set up and ready to use. Remember to follow the manufacturer’s instructions when folding your tent to prevent damage and ensure it lasts for many camping trips to come.
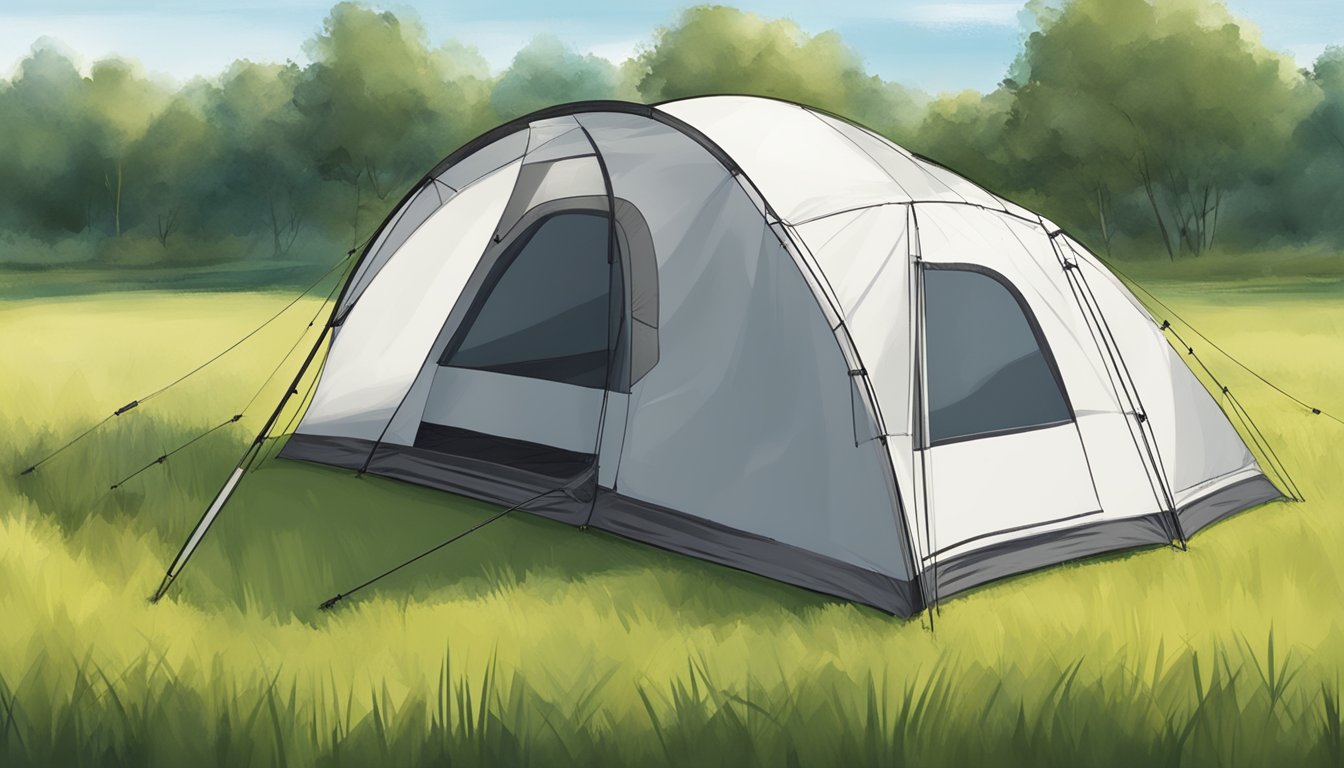
Securing The Tent
When it comes to securing your dome tent, there are a few key things you need to keep in mind to ensure your tent stays put, even in windy or rainy conditions. In this section, we’ll cover how to stake the tent and attach the rainfly.
Staking The Tent
Staking down your tent is essential to keep it from blowing away in the wind. To stake your tent, you’ll need a hammer or a rock and some tent stakes. Most dome tents come with stakes included, but if yours didn’t, you can purchase them at any outdoor store.
To stake down the tent, you’ll want to insert the stakes at a 45-degree angle into the ground at each corner of the tent. Make sure the stake is flush with the ground and secure. If the ground is particularly hard, you may need to use a rock or hammer to drive the stake in.
Attaching The Rainfly
If your dome tent comes with a rainfly, it’s important to attach it properly to keep you and your gear dry in wet conditions. To attach the rainfly, place it over the tent and secure it to the poles and stakes using the included straps or clips.
Once the rainfly is attached, you can adjust the tension and ventilation by using the guy lines or toggles. Guy lines are cords that attach to the rainfly and can be staked out to provide additional stability and tension. Toggles are small plastic pieces that allow you to adjust the tension of the rainfly without having to move the stakes.
By properly securing your tent and rainfly, you can ensure a comfortable and safe camping experience, no matter the weather conditions.
Final Adjustment And Tips

Now that you have successfully set up your dome tent, it is time to make some final adjustments to ensure maximum comfort and safety. Here are some tips to help you get the most out of your camping experience:
- Add Some Comfort Items: To make your tent more comfortable and cozy, consider adding a sleeping pad, a sleeping bag, a pillow, and a lantern. These items can make a huge difference in your overall camping experience.
- Follow Leave No Trace Principles: When it is time to pack up your tent and leave, make sure to follow the Leave No Trace principles. This means packing up all your trash and leaving the campsite in the same condition as you found it.
- Troubleshooting Tips: In case of common problems such as broken poles, ripped fabric, or leaking seams, it is important to be prepared. Always carry a repair kit with you, and make sure you know how to use it.
- Secure Your Tent: Before you call it a night, make sure your tent is properly secured. Check that all cords and stakes are in the correct position and that the tent is at the correct angle. This will ensure that you stay safe and comfortable throughout the night.
- Pack Your Tent Correctly: When it is time to pack up your tent, make sure to do it correctly. This will make it much easier to set up the next time you go camping. Start by folding the tent in half, then roll it up from the opposite end of the door. This will help prevent any damage to the tent.
Remember, setting up a dome tent can be a fun and rewarding experience. By following these tips and instructions, you can ensure that your camping trip is safe, comfortable, and enjoyable.
Frequently Asked Questions
How long does it take to set up a dome tent?
The time it takes to set up a dome tent depends on the size of the tent and the experience of the person setting it up. Generally, it takes about 10-20 minutes for one person to set up a dome tent. However, it can take longer if the person is setting up a larger tent or is inexperienced.
What are the steps to set up a dome tent?
The steps to set up a dome tent are as follows:
– Choose a suitable location for your tent
– Lay out the tent and stakes
– Assemble the poles and insert them through the tent’s sleeves
– Raise the tent and secure the poles to the stakes
– Attach the rainfly if necessary
Can one person set up a dome tent?
Yes, one person can set up a dome tent. However, it may take longer than if two or more people were setting it up. It is important to follow the instructions carefully and take your time to ensure that the tent is set up correctly.
What is the difference between a dome tent and other types of tents?
Dome tents have a unique shape that allows for more headroom and stability in windy conditions. They are also generally easier to set up than other types of tents. Cabin tents, for example, have a more rectangular shape and are generally larger, but may be more difficult to set up.
What should I consider when choosing a dome tent?
When choosing a dome tent, consider the size, weight, and features you need. The size of the tent should be based on the number of people who will be using it. The weight of the tent is important if you plan on backpacking or hiking with it. Features such as a rainfly, vestibule, and storage pockets can add to the comfort and convenience of the tent.
How do I take down and pack up a dome tent?
To take down and pack up a dome tent, follow these steps:
Remove the stakes and poles from the tent
Collapse the tent by folding it in half and then in thirds
Roll the tent tightly and secure it with straps or ties
Pack the tent and accessories in a storage bag or stuff sack
Remember to clean and dry the tent before packing it away to prevent mold and mildew from forming.